List Box Control
With “List box,” a user can select several or all of the items listed on the drop down menu. For example, a list box could consist of asking users to select their affiliation from the following list of choices: Faculty, Student, or Staff. In this case, a user filling out the form could be in more than one of the categories listed.
To add a list box in the
“Form Fields” pane, click on  in “Common Fields”.
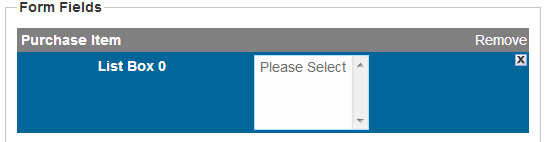
A list box is added to the “Form Fields” pane.
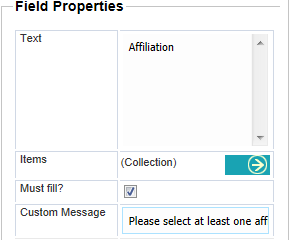
Select the List Box in “Form Fields” and in The “Field Properties” pane, a window will appear as the picture to the left.
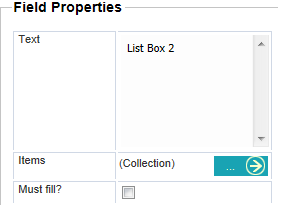
To change the title of the list box, delete “List box” in the title slot, and enter the new title.
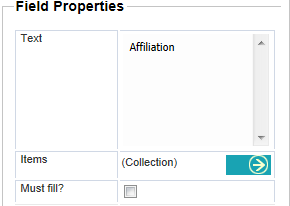
To add items on the list of
choices, click on  in front of “Collection.”
A “List Item Properties” window opens.
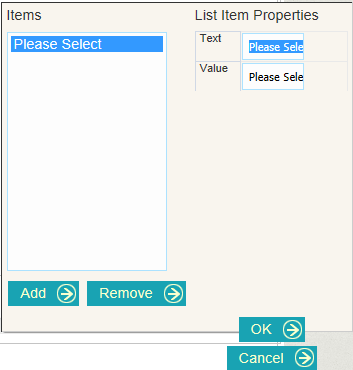
Note that the “Please
Select” message is added by default. To add new items, click on 
“List Item 1” is added to your list.

In the “Text” field, add
the name that you want to use for this item, then click . Follow
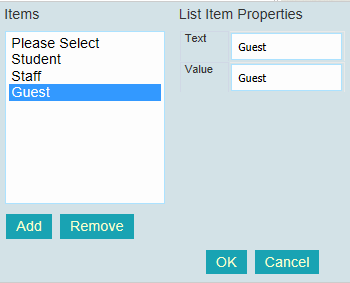
the same steps to add all the items that you need on your list.
To discard an item from the
list, just select the item and click  . Once you are satisfied with your
list, click
. Once you are satisfied with your
list, click  to close
the “List Item Properties” window.
to close
the “List Item Properties” window.
If you want to require users of the form to include the information on the list box, check the “Must fill?” box. You can add a message in the “Custom Message” slot to alert users when they fail to include the required information. To add an error message, check the box in front of “Custom message,” and fill in field to the right “Custom Message” with the text of the message.